My Outdoor In-Ground Worm Bed will give me the ability to raise a much larger amount of worms and keep them alive through even the harshest of winters. I’ve raised compost worms for several years now in the basement of my home. Raising worms in the basement is not a bad idea. It’s amazing how many worms can be raised in a relatively small area. A few good size bins can support a good many worms. It also works out nicely in the winter time when it’s freezing cold outside, or in the heat of the summer.
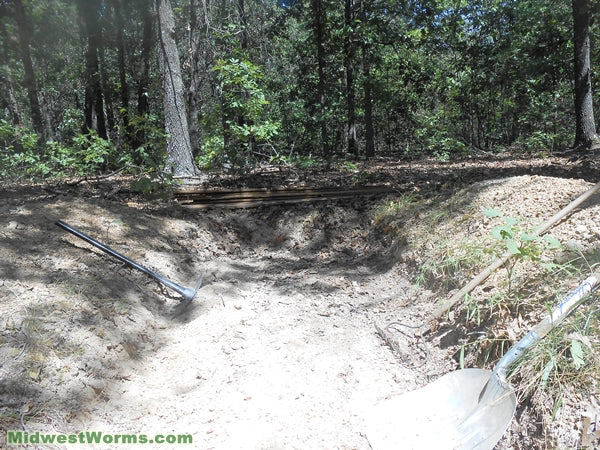
With that being said, there “are” limits to what you can do in a small basement compared to the wide open spaces outdoors. Being blessed to live in the country with 40 acres of land, and a desire to raise more worms than I could possibly fit in my basement, I thought it might be nice to construct some outside beds last fall. As with everything I do it tends to be more work than fun. What made it difficult is the rocky ground around here.
I decided to put the worms into the outdoor in-ground worm bed in order to make it easier to protect the worms through the winter. So far I’ve completed one bed and began digging the second. Winter put a stop to things for now but I’m looking forward to getting going again this spring. The bed that I’ve managed to complete is four feet wide by twelve and one-half feet long.
Let’s look now at how I constructed the bed.
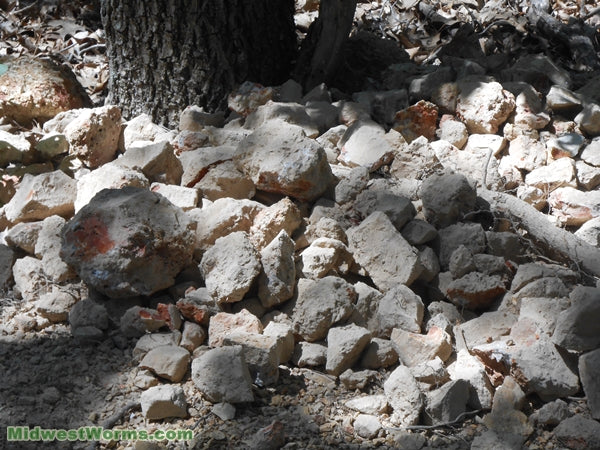
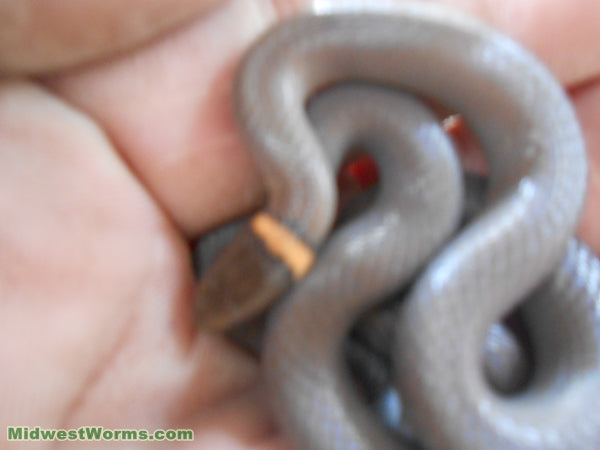
These are some of the rocks I dug out of the hole. Also I was surprised to find a little ring-neck prairie snake while digging the hole (sorry the picture isn’t in focus).
After digging the hole to a depth of about a foot and a half deep I framed the bed with scrap oak boards that I had available. I ended up having to splice some of the boards together in order to have enough. After fastening the frame together I filled the bottom with crushed limestone. This will hopefully help to keep the bedding from becoming too acidic. After placing the crushed limestone in the bottom I raised up the frame and fastened 1/2″ wire mesh to the bottom.of the boards. This should keep moles from coming in through the bottom.
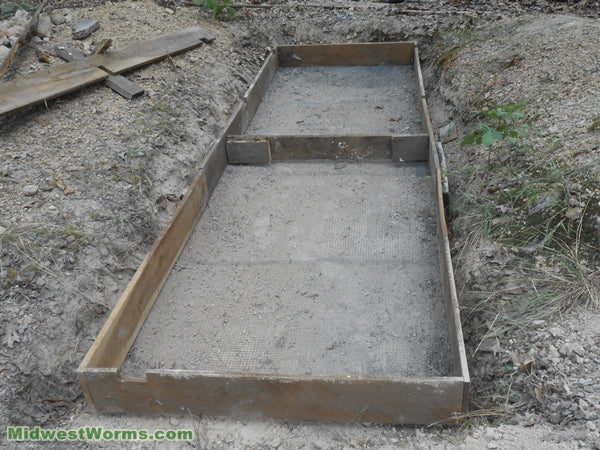
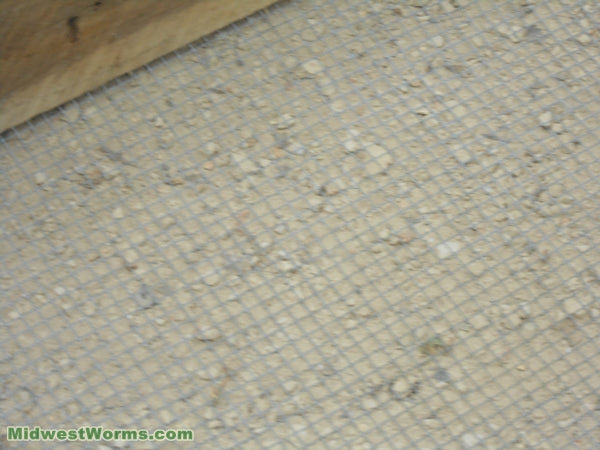
At this point I placed boards inside the frame on top of the wire mesh to prevent digging into the wire mesh and limestone when I harvest worms or change bedding. The boards I used for this are 1/2″x 6″ scrap pine.
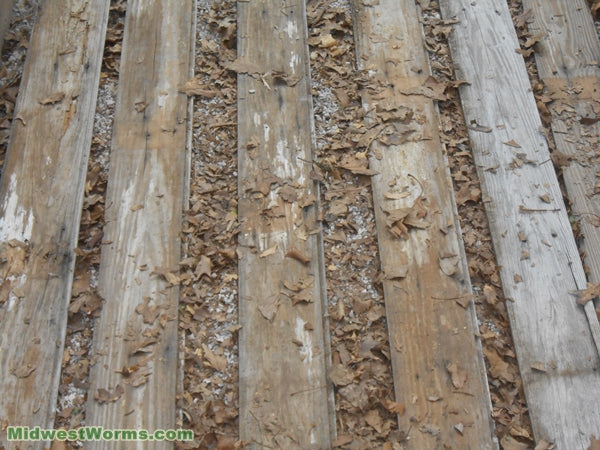
Its Coming Together
After this I filled the bed with the bedding. I used aged horse manure for the bedding material. I then added another level of boards to the frame and placed more bedding inside.
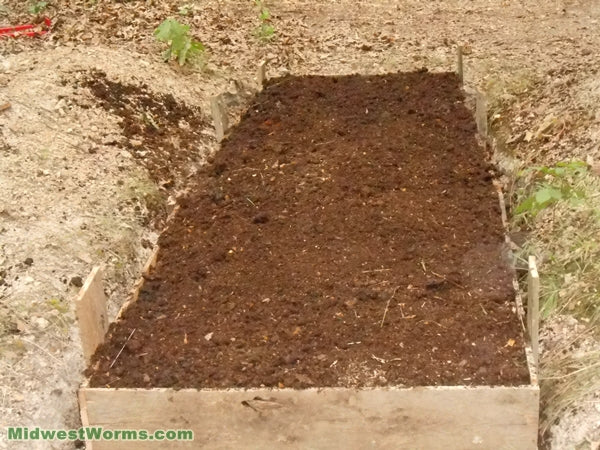
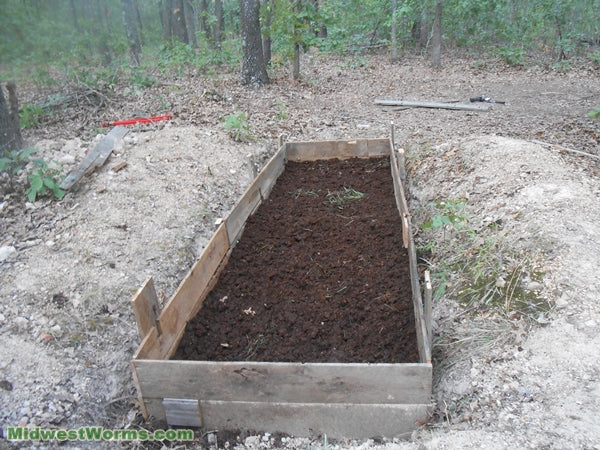
Once I finished filling the bed with the bedding I then filled in around it with dirt and after that I stocked it with the worms. I used Red Worms from bins in my basement to stock the bed. I didn’t stock it heavily. I’m counting on the population increasing really good come spring.
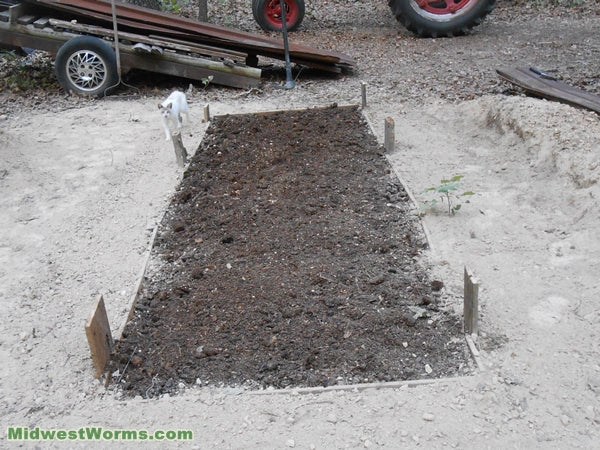
The Final Result
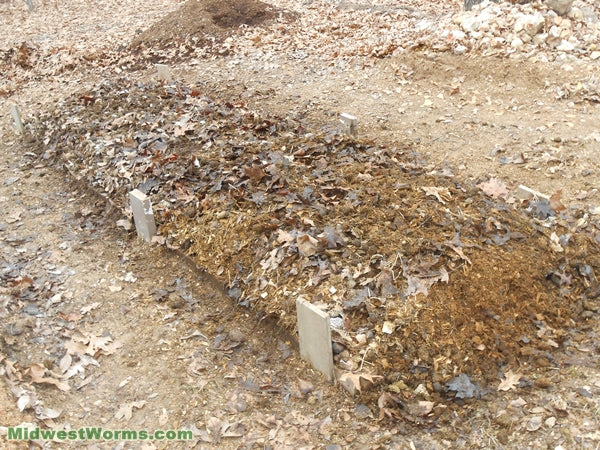
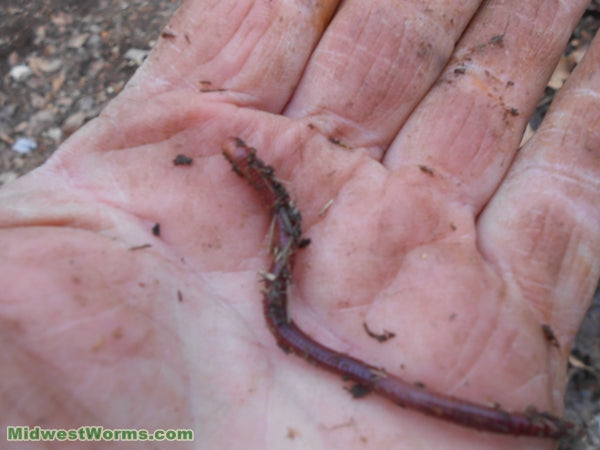
The image below shows the outdoor in-ground worm bed as it appeared on January 31, 2015. It had been piled high with horse manure to help hold in warmth through the winter. At the time this picture was taken the bedding had thawed due to warmer weather, but a week earlier the top four to five inches of the bedding was frozen. The worms have plenty of room to go deeper to escape the frozen bedding. Upon inspecting the bed I found a good many healthy large red wigglers. There were also a good many smaller worms.
Now, with the weather finally starting to warm up, I am looking forward to getting back to work constructing some additional outdoor beds (and harvesting worms from the finished bed)!
by Lonnie

Question Can I use mesh cloth for the bottom of my worm bed on top of the ground ? Trying this for the first time.